In this tutorial you』ll learn how to use WP All Import to import data from your XML or CSV into any plugin or theme.
Many themes and plugins have 「custom」 places to enter in data – not just the post title and content boxes on normal Posts or Pages.
The technical term for these extra fields is Custom Fields or post meta.
WP All Import has full support for Custom Fields and can even auto-detect the names of the fields used by your themes and plugins so you don』t have to ask the author, guess, or look at any code.
Watch the video tutorial below to see how easy it is:

Auto-Detecting The Fields
For WP All Import to detect a field, it must exist at least once in your database in a published post (not draft or any other post status).
If you already have posts on your site that have the fields you want to import to filled out, WP All Import will detect the fields.
If not, simply create a dummy post, enter in dummy values for the fields you want to import data to, then publish it.
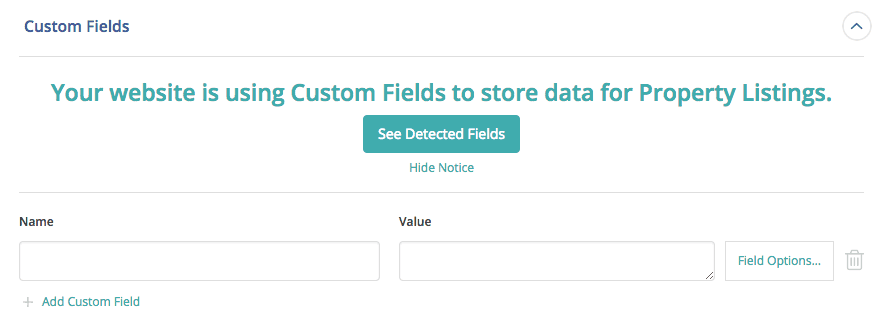
Click See Detected Fields to see the detected fields.

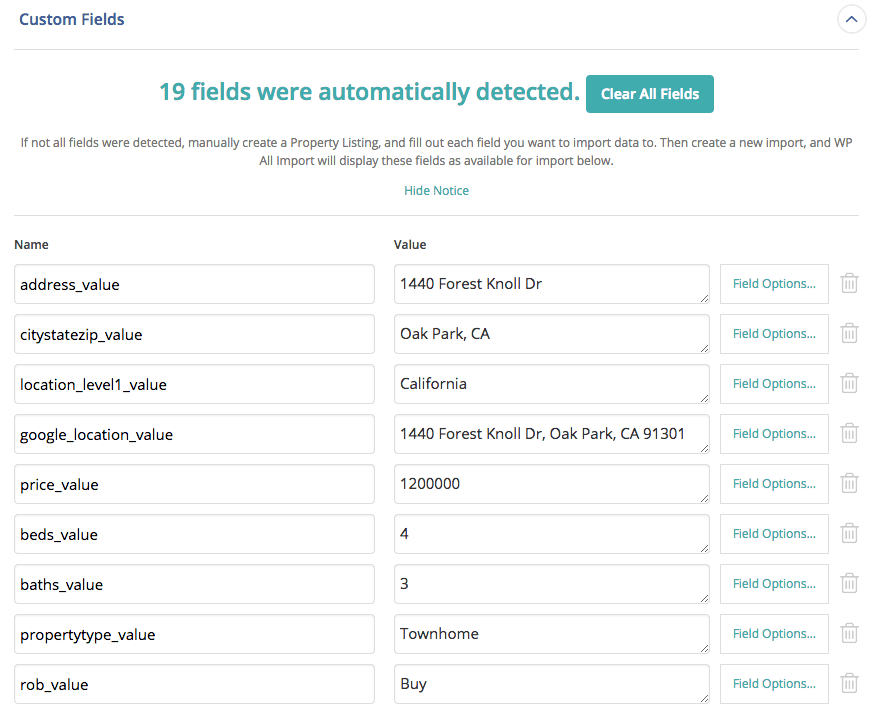
Once you click See Detected Fields, WP All Import will show you all of the detected fields.

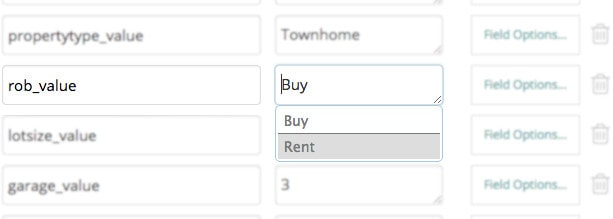
WP All Import can also show you the different possible values for your fields. So for example, if you need to know what the possible values of a 「select」 option is, just manually create a post with the 「select」 option in every state you want to know the field value for.
Example – Select Box In OpenDoor Theme

Saving two posts, one with the select set to 「Rent」 and the other with the select set to 「Buy」, results in WP All Import auto-detecting the possible values:

Of course, you can import to fields without WP All Import auto-detecting their names and values – you just have to know the names and possible field values yourself.

