Setting up an import for thousands of posts is very similar to manually creating a post. You create a template for your posts that WP All Import uses when importing your data. To set add data from your import file to your import template, you simply drag and drop it.

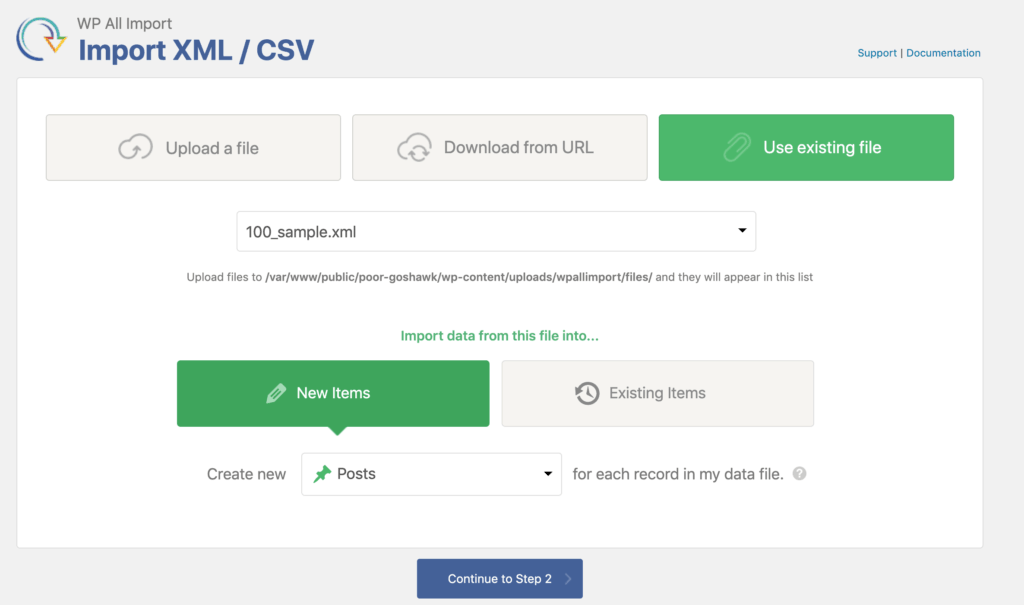
Step 1: Upload Your File
The first step to creating an import is to upload your import file. You can choose to upload the file from your computer, paste in a URL to the file, or choose an existing file that you've already used with WP All Import.
Next, choose either New Items or Existing Items. If you are importing data from your file into posts that are already in your site, select Existing Items. Otherwise, select New Items.
Finally, you need to decide what you want to import. You can import posts, pages, taxonomies, users, or custom post types added by other themes and plugins like WooCommerce products or real estate properties.

Step 2: Review Your Data
WP All Import will process your file and prepare it for import. If you uploaded a CSV, check that the correct delimiter was used. If you uploaded an XML file, check that the correct node was selected.
If you only want to import some of the records in your import file you can add filter rules.

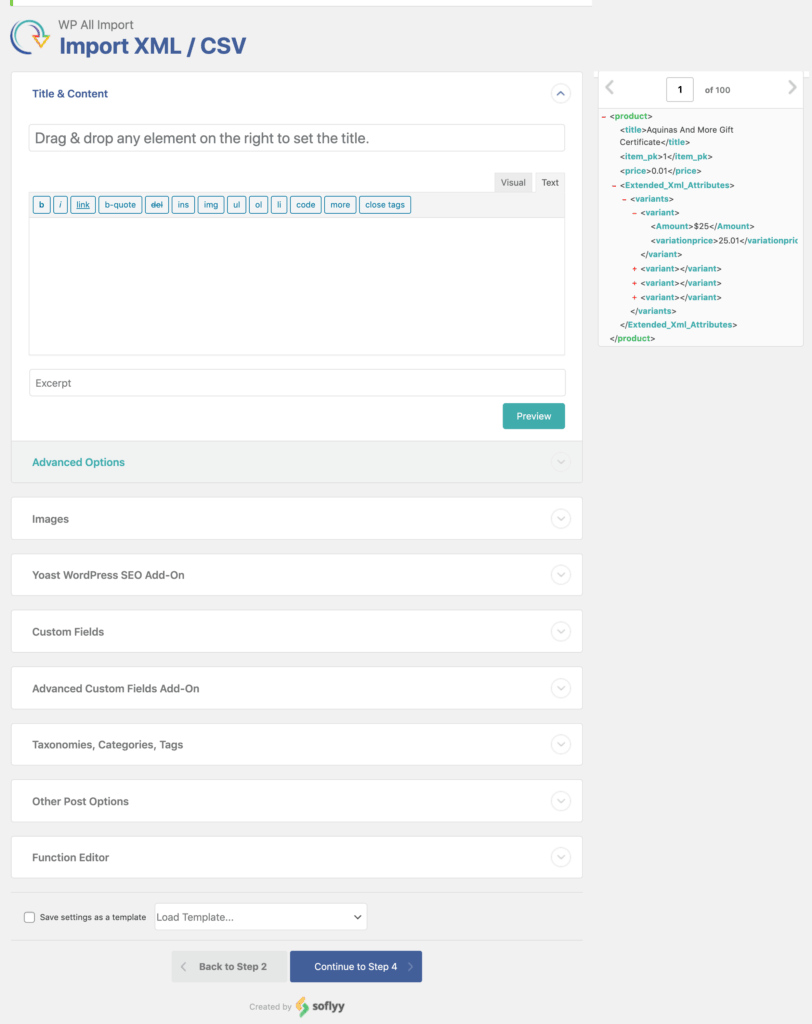
Step 3: Configure Your Import
Every column or element from your import file will be displayed on the right. On the left you have your import. WP All Import will create posts using the import template you create here. Simply drag your import data from right to left. You can fill in as much or as little of the fields as you like depending on your needs.

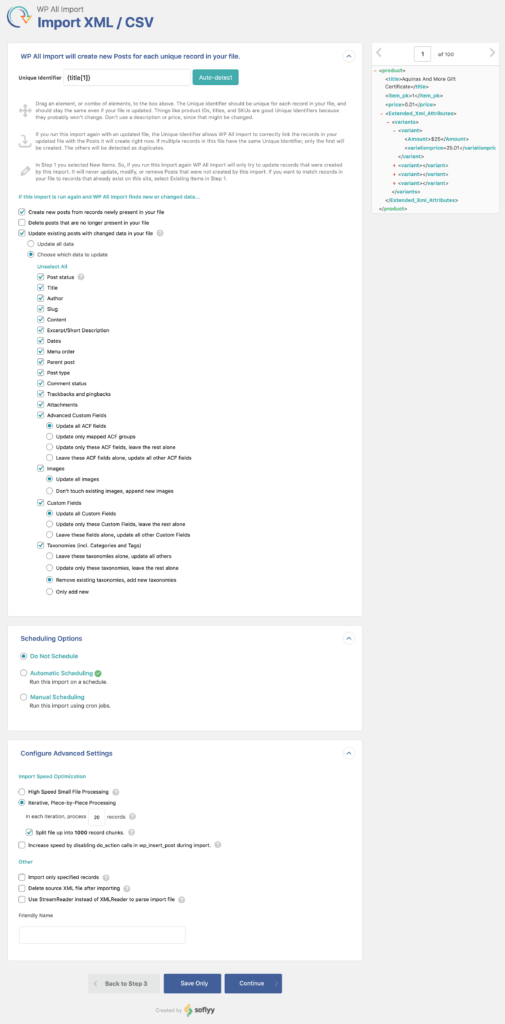
Step 4: Choose Which Data to Update
Here you can tell WP All Import how to handle each specific piece of data. For example you can have it only add new images to posts, or just update the stock and price for your products.
You can also configure this import to run on a schedule, and other advanced options.

Step 5: Confirm & Run Import
Now it's time to run your import.

