Zapier can be used to send details of the export data towards Google Sheets. Connect Zapier to WP All Export and create the required trigger and action. The trigger would execute whenever a new export is found. The action would be sending the export information to Google Sheets.
Trigger: New Export File in WP All Export Pro
First, connect to Zapier and set up the required trigger: https://www.wpallimport.com/documentation/external-app-integration/.
Action: Create Spreadsheet Row in Google Sheets
Choose App & Event
Zapier will prompt to create an action once the trigger is done.

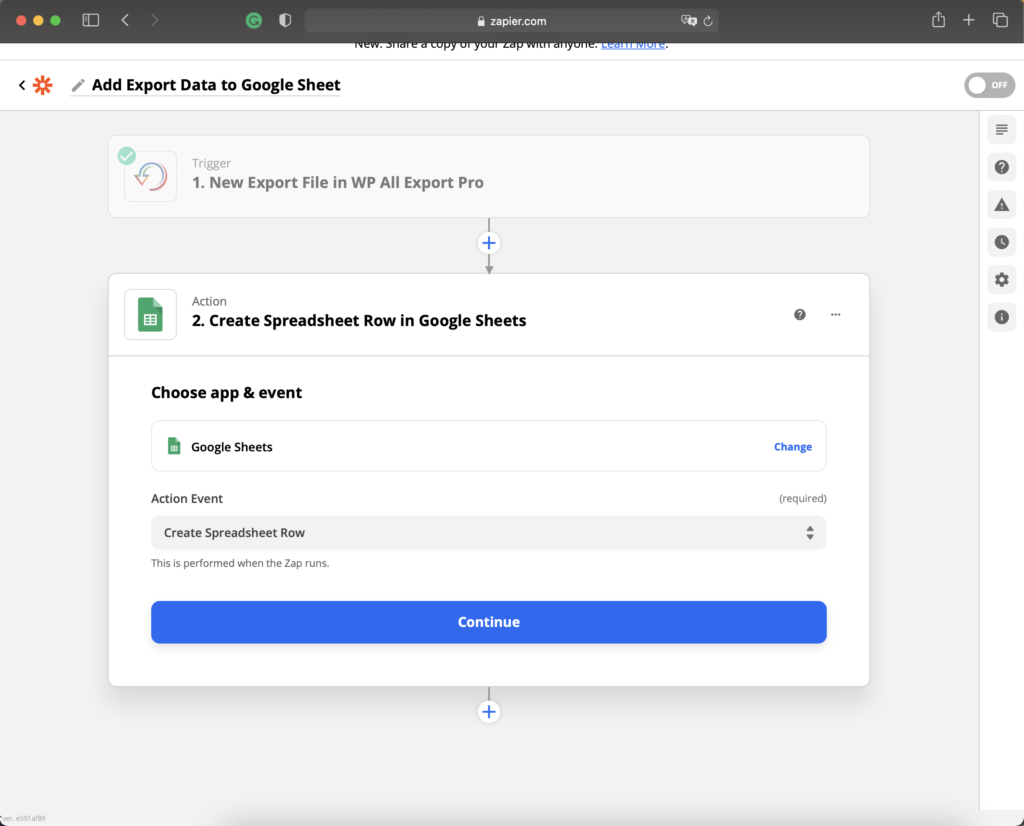
Select Google Sheets as the app and Create Spreadsheet Row as the event, then click Continue.
Choose Account
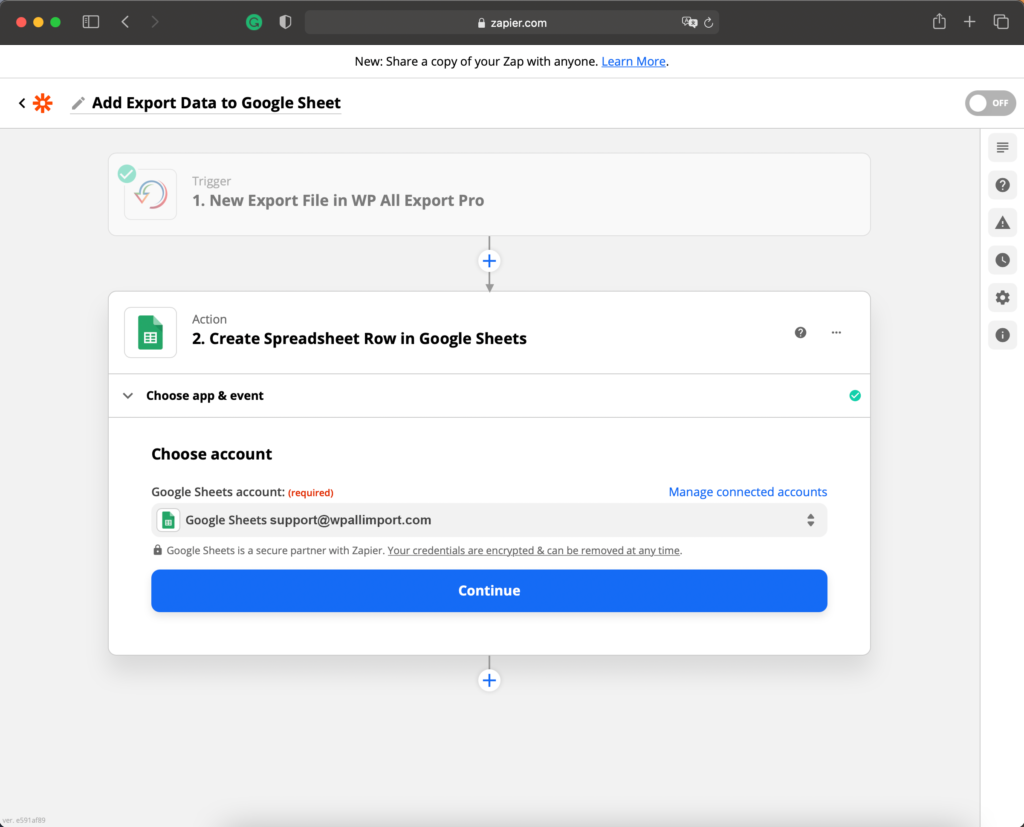
Select the Google Sheets account to use. If there's no account added, select + Connect a new account from the dropdown list and follow the steps.

Once an account has been selected, click Continue.
Set up action
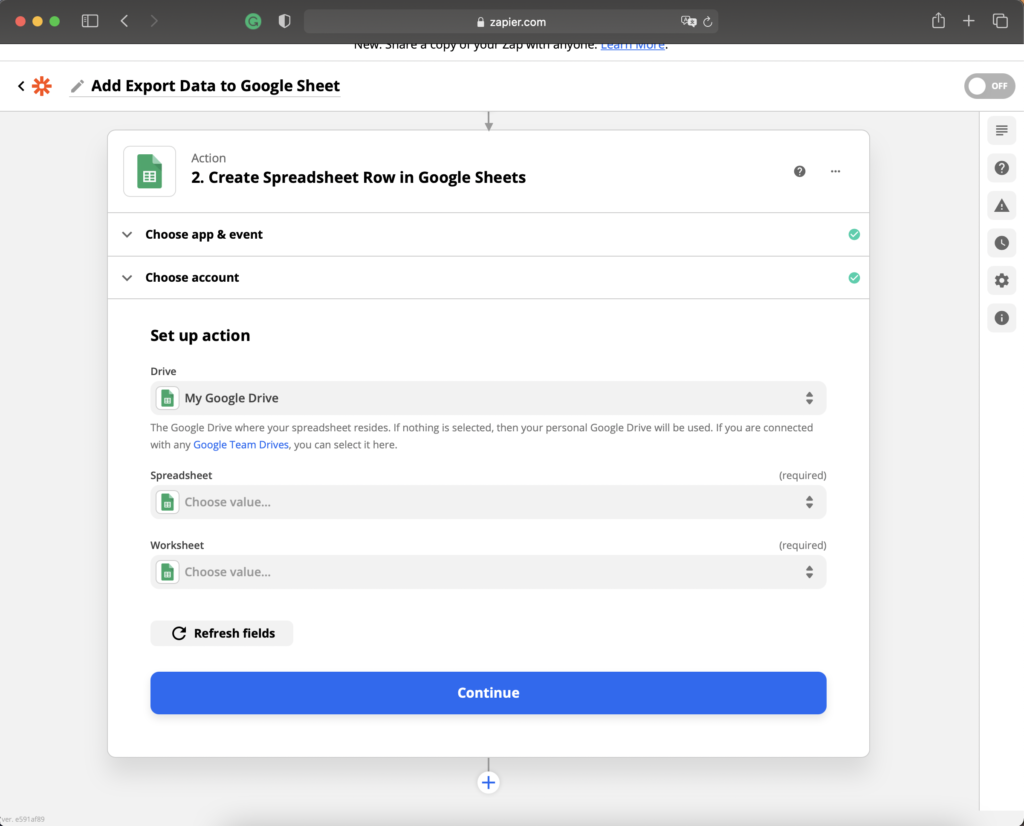
This section allows configuring in which spreadsheet and worksheet the information will be added.

The following can be configured:
Drive: The Google Drive where the spreadsheet resides. The personal Google Drive is used if nothing is selected. Spreadsheet: Select which spreadsheet should be used by Zapier.Worksheet: Select which worksheet within the spreadsheet should be the data added to.
Once those fields have been selected, Zapier will load headers from the worksheet and allow to select which data is added into those columns. If there are no headers in the worksheet, Zapier will ask to set up the spreadsheet.
The following data can be added to the spreadsheet:
Export NameExport File URLExport Last Run DateRecords ExportedFile NameExport Created DateStatus CodeWebsite URLFile TypePost Types ExportedStatus MessageExport IDExport Trigger Type
Only details from the export can be added to the spreadsheet. Filling the Google Sheet rows with the data from the exported file is not possible with this integration. If that's the desired result, the Google Drive integration should be used instead.
Test action
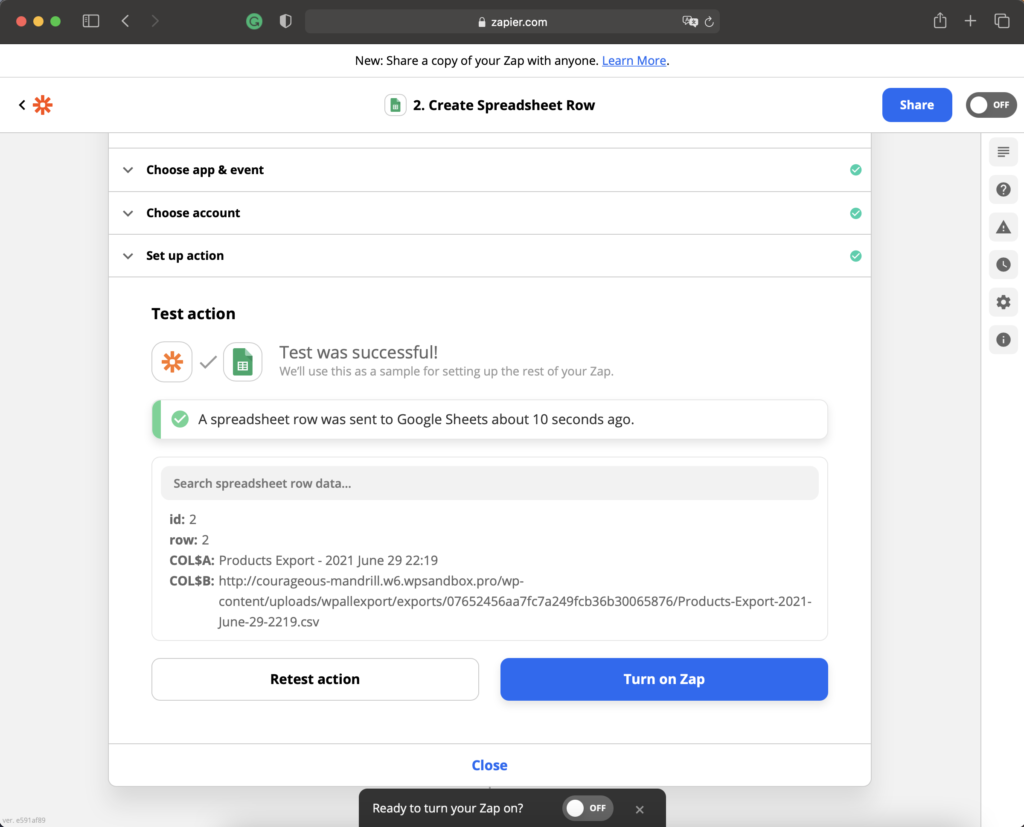
Once the action has been configured, Zapier will attempt to test it. Select Skip Test to avoid this step.
Otherwise, click Test & Continue to check everything is working.

Once the test is successful, the zap can be enabled by clicking on Turn on Zap.

